A home golf simulator is more than just a practice tool; it’s your new favorite way to enjoy the game. Think about playing a quick nine after work, hosting a virtual tournament with friends, or introducing your kids to the sport in a fun, pressure-free space. It transforms any spare room into the go-to spot for entertainment. But here's the best part: creating this experience doesn't have to break the bank. This guide will show you how to build the best budget golf simulator by making smart choices on every component for endless rounds of fun.
要点
- 2度測って、1度買う:まず部屋のサイズを測り、安全にスイングできる十分なスペースがあることを確認する。そして、ケーブル、マウント、ソフトウエア料金など、隠れた費用も含めた完全な予算表を作成し、驚かないようにしましょう。
- 最も重要なものに投資するパフォーマンスと安全性に最も影響する2つのアイテム、正確な打球モニターと高品質の打球マットに予算を集中させましょう。スクリーンやプロジェクターは後でいつでもアップグレードできますが、これらの核となるアイテムは最初からきちんと揃えることが重要です。
- 部品の寄せ集めではなく、システムを構築する:シミュレーターは、すべてのパーツが通信する必要のあるシステムです。技術的な頭痛の種を防ぐには、起動モニター、ソフトウェア、コンピューターがすべて互換性があることを再確認するか、すべてがシームレスに連動するように設定済みのバンドルを選択してください。
What Do You Need for a Home Golf Simulator?
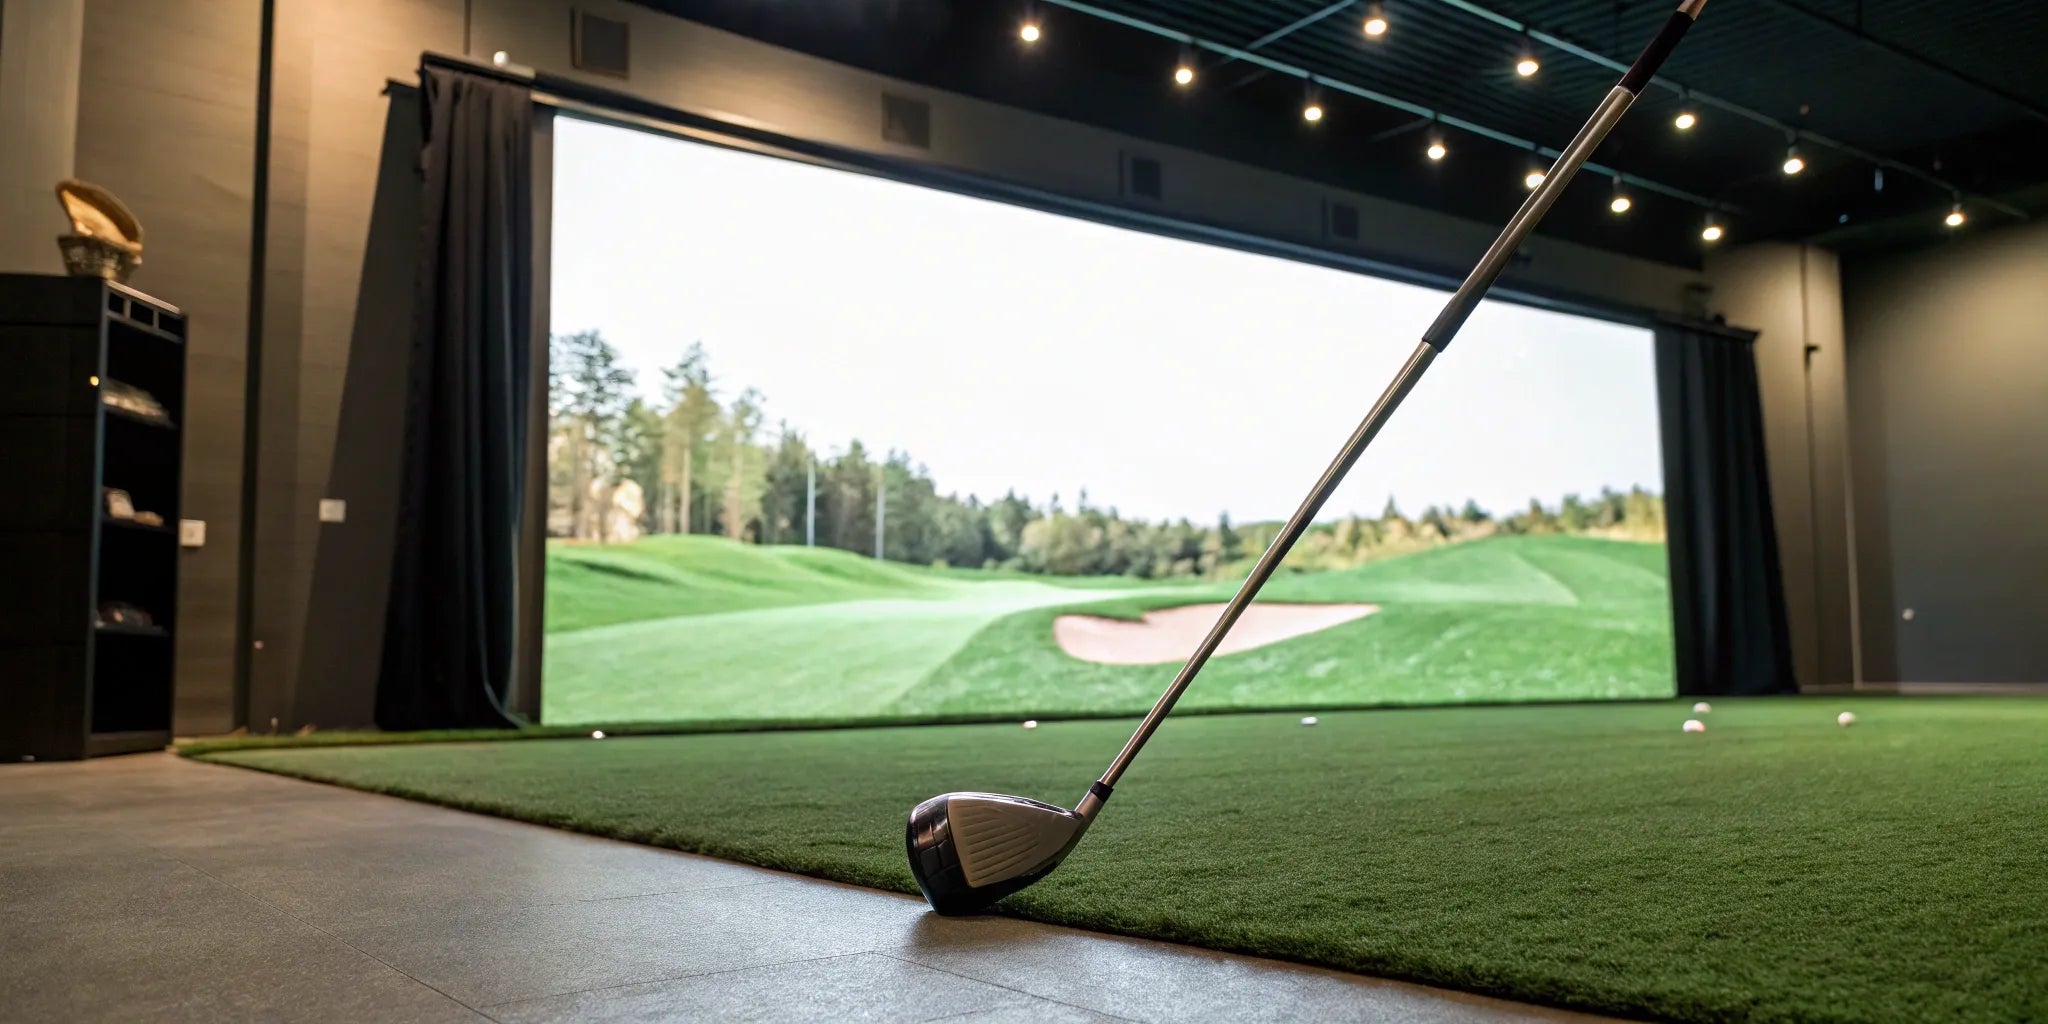
家庭用ゴルフシミュレーターは、全天候型のゴルフ練習場とコースを、ご自宅の中で実現するものです。世界的に有名なコースでバーチャルにプレーしながら、本物のクラブを振り、本物のゴルフボールを打つことができる。このマジックは、ハードウェアとソフトウェアの組み合わせによって実現する。その中核となるシミュレーターは、打ち出しモニターを使ってスイングとボールの飛行を追跡し、そのデータをインパクト・スクリーンに投影する。これにより、驚くほどリアルな体験が可能になり、練習や友人との対戦、あるいは好きなときにサクッと9ホールを楽しむのに最適です。
一番の魅力は?ゴルフクラブを作ることが、これまで以上に身近になったことだ。専用の棟がなくても、プロゴルファー並みの予算がなくても始められる。適切なパーツがあれば、自分のスペースと財布に合ったセットアップを作ることができる。オフシーズンにスイングの微調整をするにも、次の近所のトーナメントを開催するにも、ホーム・シミュレーターがあればコースが身近になる。シンプルなネットと打ち出しモニターから始めることもできるし、完全に没入できる部屋を作ることもできる。目標は、一貫して自分のゲームに取り組み、楽しい時間を過ごせる空間を作ることです。
What Defines a Great Budget Golf Simulator?
はっきりさせておきたいことがある:"予算 "は "低品質 "を意味しない。技術の飛躍的な進歩のおかげで、大金を使わなくても素晴らしく正確なゴルフシミュレーターを作ることができる。優れた格安セットアップは、必要不可欠なものをきちんと揃えることに重点を置いている。それはあなたに正確なデータを与える信頼性の高い起動モニタと何千ものショットを扱うことができる耐久性のある画面とマットを優先します。プロジェクターの代わりにすでに持っているテレビを使ったり、フルエンクロージャーにアップグレードする前に基本的なネットから始めることでお金を節約することができます。重要なのは、あなたの経験に直接影響する中核部品に投資し、そこから構築することです。
Must-Haves vs. Nice-to-Haves for Your Setup
セットアップを計画するとき、絶対に必要なものとあると便利なものを知っておくと役立ちます。最も基本的なものから最も高度なものまで、すべてのゴルフシミュレータは、機器の5つの不可欠な部分を中心に構築されています。
必要なものは以下の通り:
- 起動モニター:これはシミュレーターの頭脳です。あなたのクラブとボールのデータを追跡し、仮想世界であなたのショットを再現する装置です。
- ヒッティングマット:本物のフェアウェイの感触を模倣し、関節を保護する質の高い打球面が必要です。
- インパクトスクリーンまたはネット:ボールを打ち込むもの。ネットは素晴らしい出発点ですが、インパクト・スクリーンを使えば、より没入感のあるゲームを映し出すことができます。
- シミュレーター・ソフトウェア:このソフトウェアは、ローンチモニターのデータを画面上のバーチャルゴルフ体験に変換します。
- ディスプレイ:プロジェクターやテレビ、あるいはタブレットなど、自分のショットやバーチャルコースを見るためのデバイスが必要です。
これらのアイテムは、互換性を保証し、いくらかのお金を節約する便利なバンドルで一緒にパッケージ化されていることがよくあります。
本当に必要なスペースは?
機材をひとつ買う前に、メジャーを持ってみよう。スペースの広さによって、どんなシミュレーターが作れるかが決まる。理想的には、少なくとも幅9フィート、天井高8フィートの部屋が必要です。これなら、壁や天井にぶつかる心配をせずに、ドライバーを自由かつ安全に振ることができる十分なスペースがあります。奥行きは、少なくとも16フィートを目指してください。これは、あなたとスクリーンの間に十分なスペースを確保し、ボールのインパクトのためにスクリーンの後ろにバッファを提供します。スペースに余裕がない場合でも、うまくやることはできますが、短いクラブを使う必要があるかもしれません。必ず、選んだ場所で何度かゆっくりフルスイングして、絶対的な自信を持ちましょう。
Golf Simulator Setups for Every Budget
自宅でゴルフ・シミュレーターを作ることは、思っている以上に実現可能だ。この種の技術がプロショップや高級住宅に予約されていた時代は終わった。正しい計画を立てれば、自分のスペースと予算に合った素晴らしいセットアップを作ることができる。重要なのは、どこにお金を投資し、どのコンポーネントがあなたのお金に見合った最高の体験を与えてくれるかを知ることだ。
シンプルな練習場から、没入感のあるゴルフ・ケーブまで、どのような形でも可能です。一般的な予算階層を3つに分類してみました。これらは、出発点とお考えください。いつでもコンポーネントを組み合わせたり、将来のアップグレードを計画したりすることができます。あなたのゲームに最適なセットアップを見つけましょう。
The Budget-Friendly Build: Under $2,000
そう、2,000ドル以下で質の高いゴルフ・シミュレーターを体験できるのだ。この予算は、打ち上げモニター、打席マット、ネットといった必需品に絞っている。あなたはすでに所有しているコンピュータやタブレットを使用し、ディスプレイのためにあなたのテレビに接続することによって多くを節約することができます。打ち出しモニターは、RSGモバイルのようなポータブルユニットを使えば、高額な値札を付けずに正確なデータを得ることができる。耐久性のあるヒッティングマットや丈夫なネットと組み合わせれば、ガレージや地下室に設置できる信頼性の高い練習ステーションが完成する。一年中スイングを練習するのに最適な方法です。
Example Sub-$1,500 Setup Breakdown
When you focus on the essentials, you can build a fantastic setup for even less. A well-rounded setup can be pieced together for around $1,300, proving that a great home golf experience is within reach. It starts with a quality hitting mat to protect your joints, which might run you about $350. Next, you can find a reliable used launch monitor for around $420. Pair that with a sturdy hitting net for about $290 and simulator software for an annual fee of roughly $250. By using a computer or tablet you already own as the brains of the operation, you can keep costs down significantly. This approach lets you build a solid foundation for your home simulator without a huge initial investment.
Complete Bundles as a Starting Point
If you’d rather skip the research and potential compatibility headaches, a complete bundle is the way to go. These packages are designed to be all-in-one solutions, ensuring every component—from the launch monitor to the software—works together perfectly right out of the box. For those who prefer a more straightforward approach, complete golf simulator bundles are an excellent starting point. They take the guesswork out of the equation and often provide better value than buying each piece separately. This path saves you time and gives you the peace of mind that you have everything you need to start playing as soon as it arrives, making it a popular choice for many home golfers.
The Sweet Spot: Your $2,000-$4,000 Setup
この価格帯は、多くのホームゴルファーにとってスイートスポットであり、臨場感とクオリティが格段に向上する。この階層では、単純なネットからフルスクリーンのエンクロージャーとプロジェクターに移行することができ、あなたは本当にコースにいるように感じることができます。また、スイングをより深く分析するための追加データポイントを提供する、より高度なローンチ・モニターもあります。自分ですべてをつなぎ合わせる代わりに、すべてのコンポーネントがシームレスに連動するように設定済みのシミュレーター・バンドルを探すことができます。このアプローチは、互換性の問題の頭痛の種を保存し、多くの場合、各パーツを個別に購入するよりも良い価値を提供します。
Go Pro at Home: The $4,000-$7,000 Build
もしあなたが自分のゲームに真剣で、ハイエンドの精度とリアリズムを提供するセットアップを望んでいるなら、このレンジがあなたのものです。この予算で、ツアーレベルのデータと見事な4Kグラフィックスを提供するRSG Proのような強力なローンチモニターをアンロックできます。鮮明で明るい画像のためのプレミアムインパクトスクリーンや、実際のフェアウェイの感触を模倣した高品質の芝マットに投資することができます。このレベルになると、単なる練習用具ではなく、エンターテインメントの中心を作ることになります。さらに、ゴルフ・ルームをあなただけの空間に仕上げる仕上げを施し、カスタマイズを始めることもできます。
Your Simulator Shopping List: Picking the Right Gear
さて、予算も決まり、スペースも測った。さて、ここからが楽しいところです。ゴルフシミュレーターの構築は、理想的なセットアップを実現するために、適切なコンポーネントを見つけることがすべてです。完璧なクラブバッグを組み立てるように考えてみてください。ここでは、あなたがあなたのお金に最高のパフォーマンスを得ることを確認するために、各カテゴリで探す必要があるものの内訳を示します。
Picking Your Launch Monitor
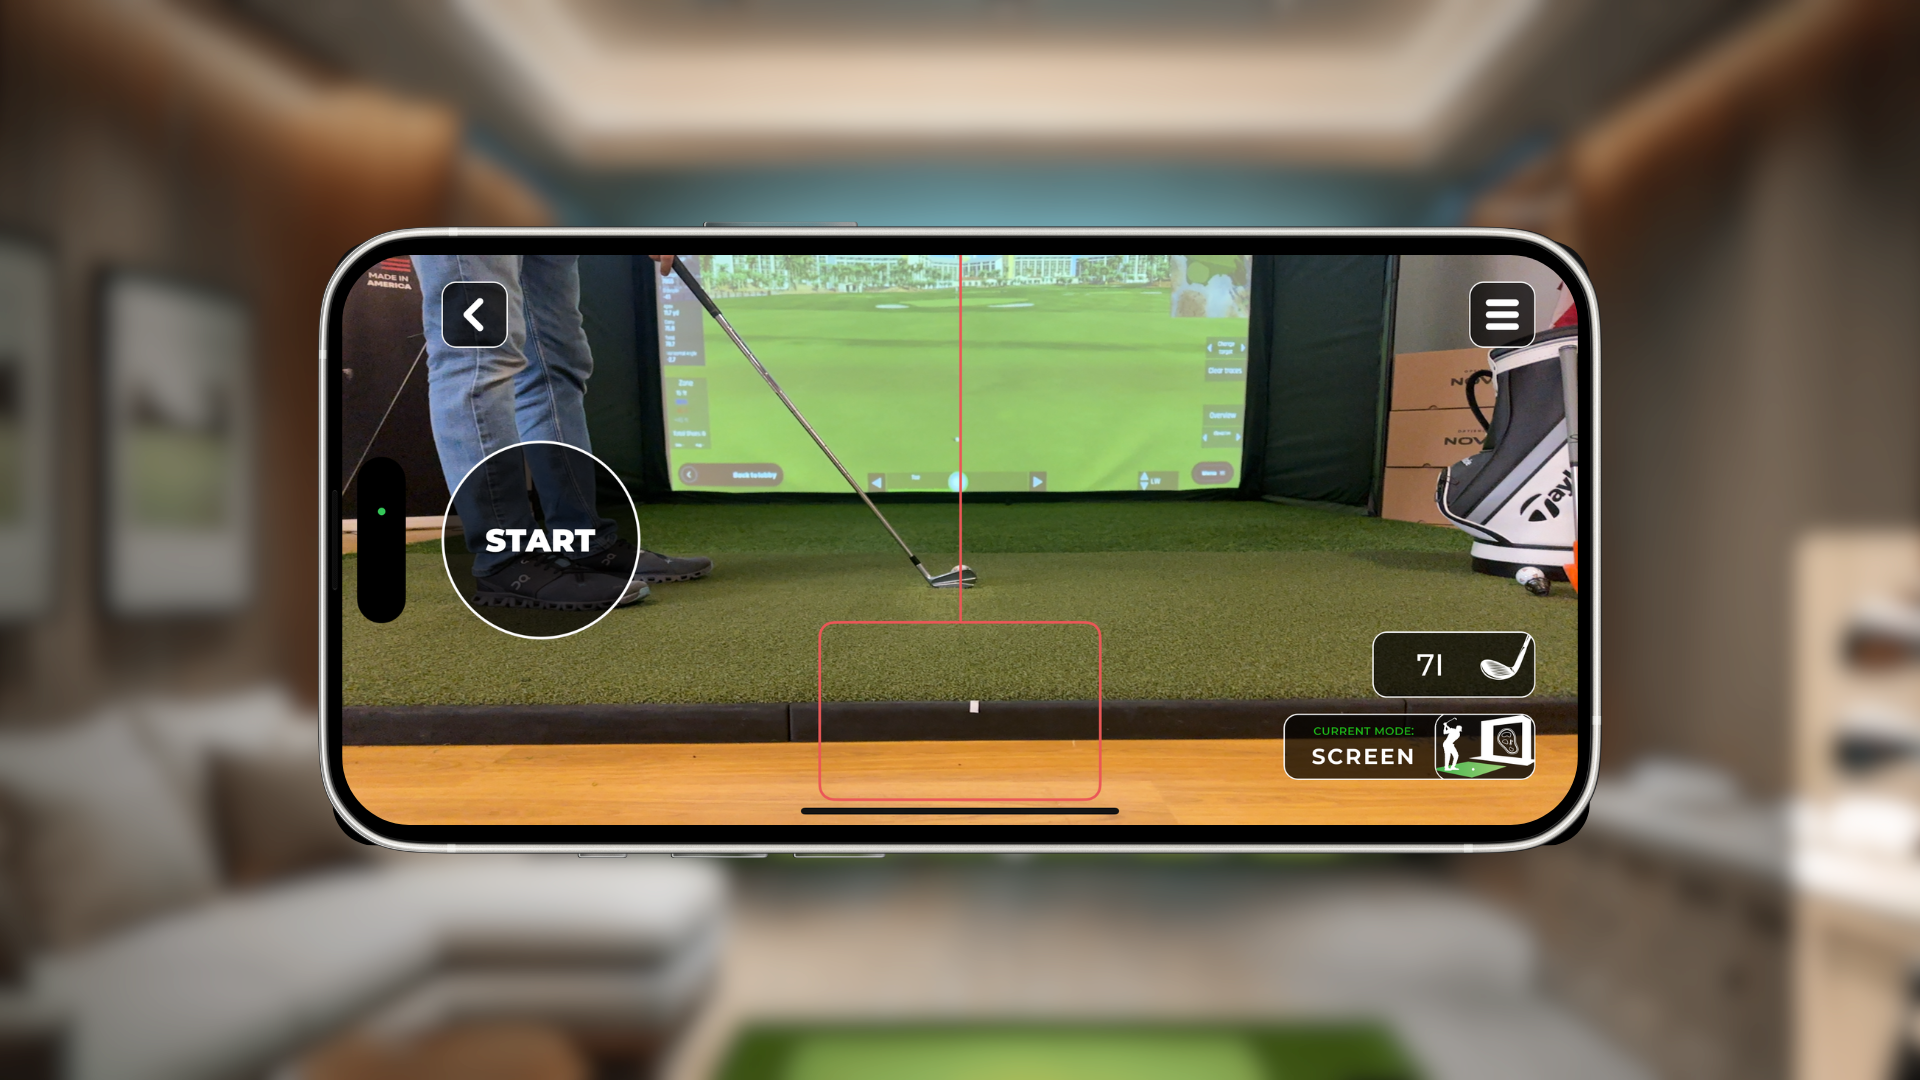
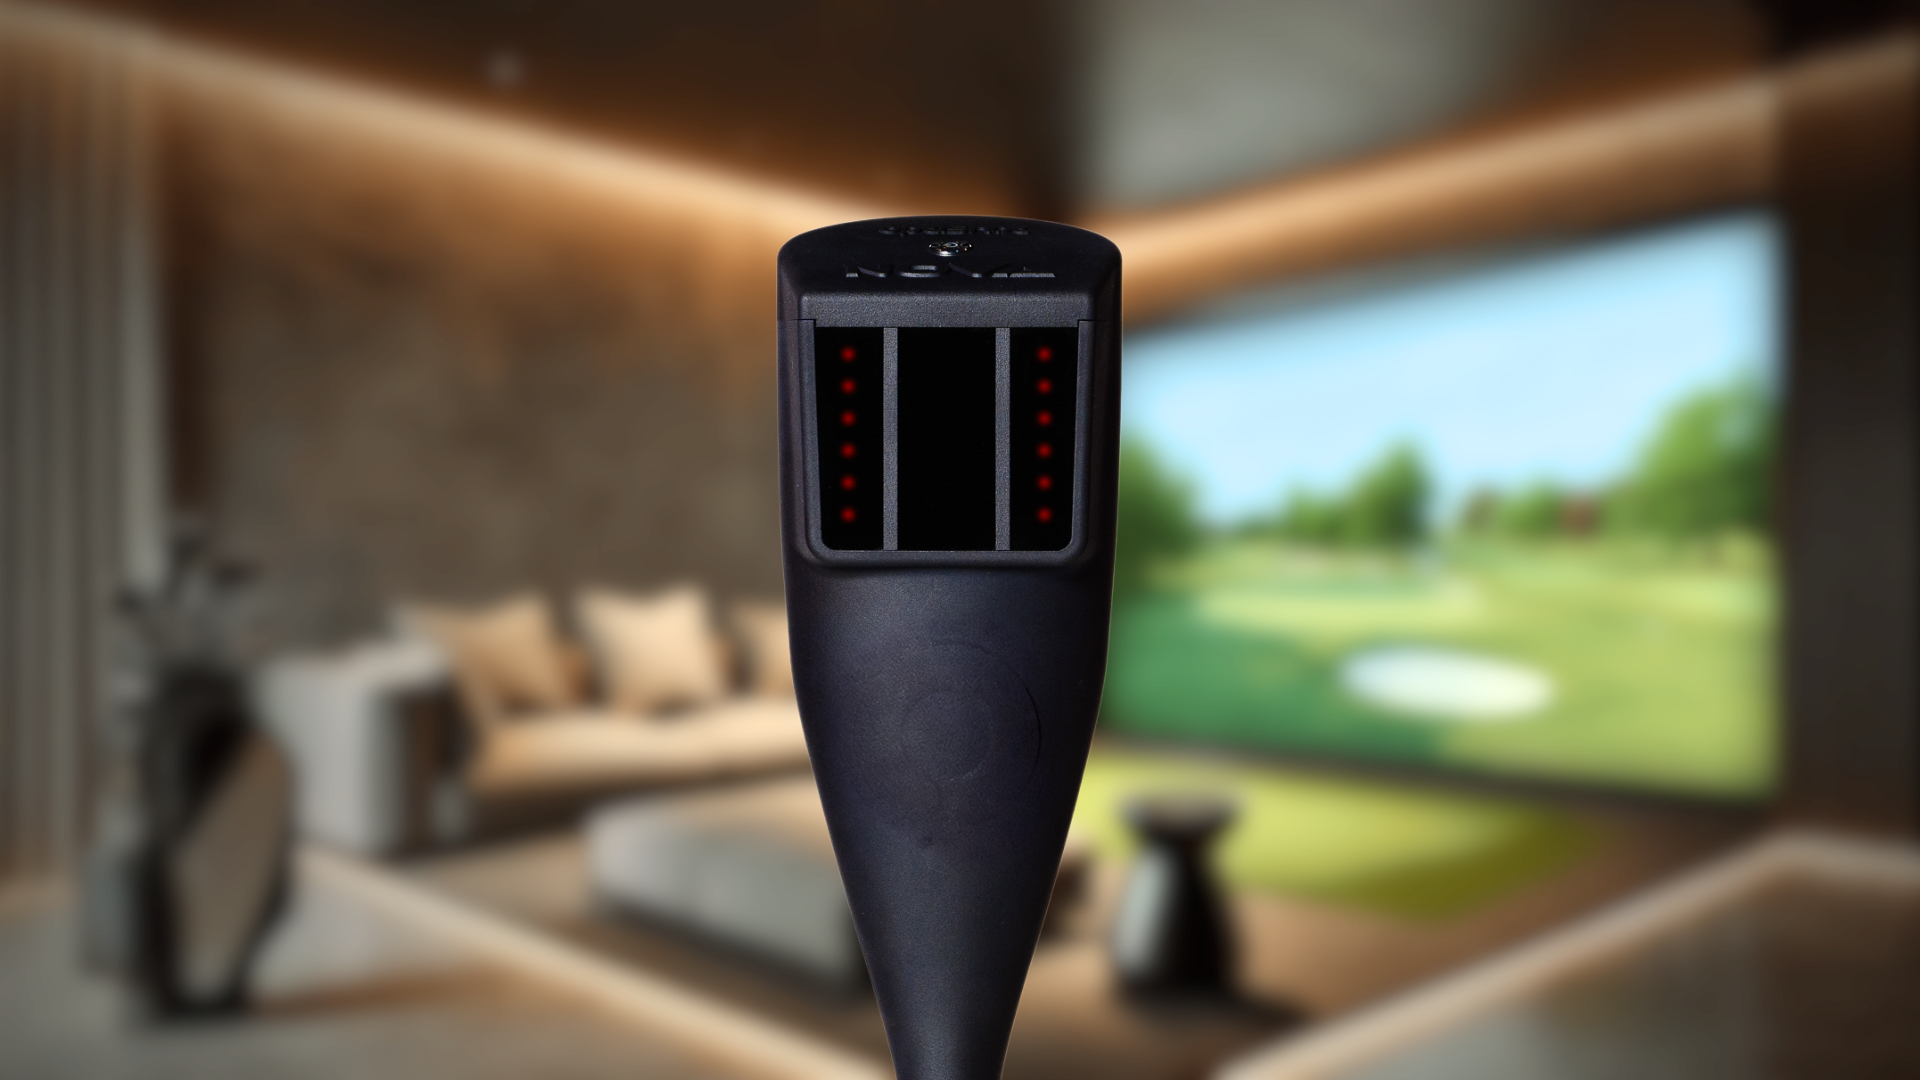
ローンチモニターは、あなたのスイングとボールの飛行に関するすべての重要なデータをキャプチャし、シミュレータの心臓部です。それはパズルの最も高価な部分であったが、ありがたいことに、価格は大幅にダウンしています。屋内でプレーする場合は、一般的に、レーダーベースのものよりもカメラベースのモニターの方が適しています。ボールの後ろに設置するスペースが少なくて済むので、ガレージや空き部屋など、一寸の隙間もないような場所に最適です。限られた奥行きの中でプレーするのであれば、間違いなくカメラベースのユニットが適しています。当社のRSGローンチモニターは、正確性と信頼性を重視して設計されており、ゲームの改善に必要なデータを提供します。
Budget-Friendly Launch Monitors (Under $1,000)
You don’t have to break the bank to get reliable swing data. Thanks to advancements in technology, there are now excellent launch monitors available for under $1,000 that provide the core metrics you need to improve your game. These units are perfect for golfers who want a straightforward, effective practice tool. For example, the RSG Mobile is designed to give you accurate, essential data like ball speed, launch angle, and carry distance without a huge investment. This price point allows you to build a complete simulator setup for as little as $1,500 to $2,000, making a home golf experience more accessible than ever.
Mid-Range Launch Monitors ($1,000 - $4,000)
Stepping into the mid-range tier unlocks a new level of detail and accuracy. In this price bracket, launch monitors begin to offer more comprehensive data, including club path, face angle, and spin rates, which are crucial for fine-tuning your swing. This is the sweet spot for dedicated golfers who want deeper insights into their performance. Models in this category often provide a more realistic simulation experience with better graphics and more software integrations. If you're serious about lowering your handicap, investing in a more advanced launch monitor in this range will give you the powerful feedback needed to make meaningful improvements to your game.
Radar vs. Camera-Based Technology
When choosing a launch monitor, you’ll encounter two main types of technology: radar and camera. Radar-based units, like those you might see on a driving range, track the ball for a considerable distance after impact to measure its flight. This requires a lot of room, often 15 feet or more, which most indoor spaces can’t accommodate. Camera-based systems, on the other hand, use high-speed imaging to capture data at the moment of impact. This means they need very little space to operate, making them the superior choice for indoor golf simulators. For the vast majority of home setups, a camera-based monitor is the most practical and effective option.
Accommodating Left- and Right-Handed Golfers
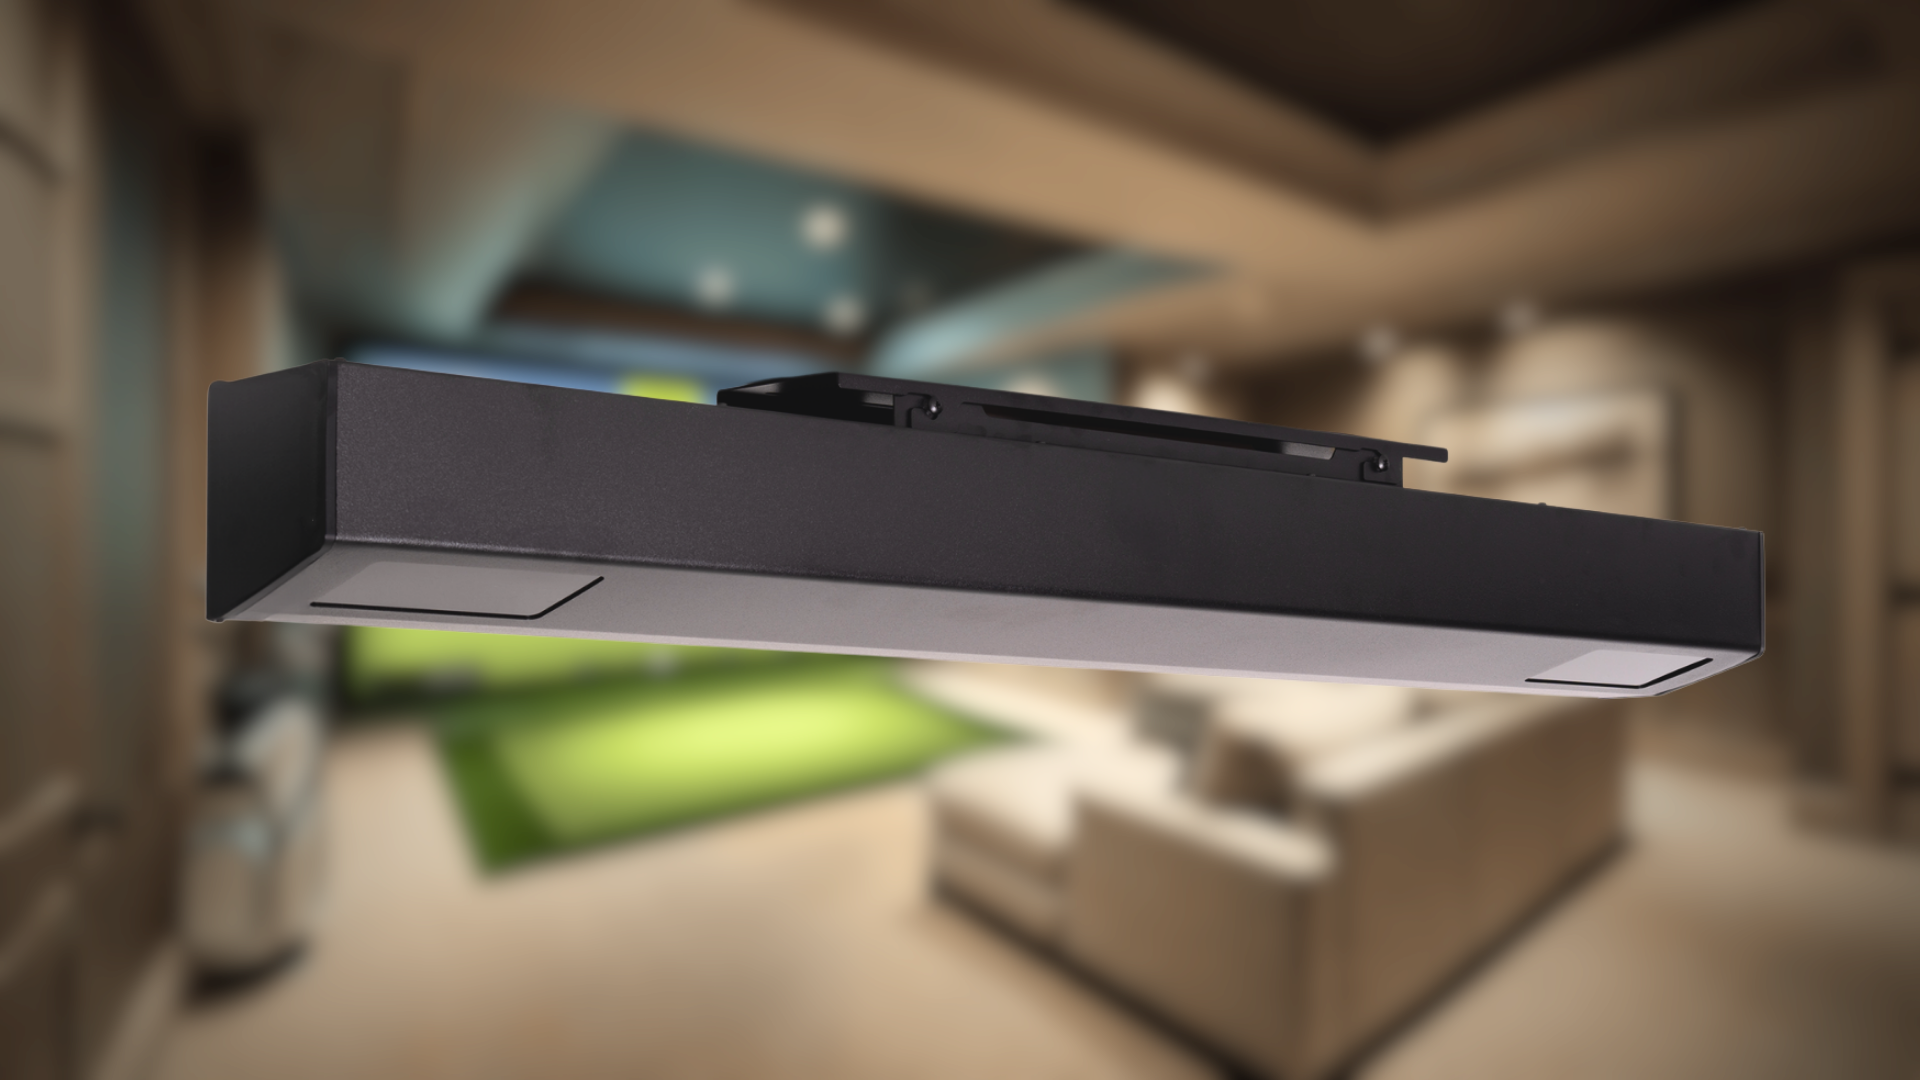
If you have both left- and right-handed players in your household, this is a critical factor to consider. Many launch monitors are placed on the floor to the side of the golfer, meaning you have to physically move the unit every time a player with a different orientation steps up to hit. This can become tedious and disrupt the flow of the game. Some higher-end systems solve this with overhead-mounted units that can track shots from both sides without any adjustments. If you anticipate frequent play from both lefties and righties, it’s worth looking for a monitor that is either centrally positioned or easy to switch. If you're unsure what's best for your space, it's always a good idea to contact an expert for advice.
Choosing Your Impact Screen and Net
プロジェクターとインパクト・スクリーンは絶対に必要というわけではありません。最も基本的なセットアップは、耐久性のあるゴルフネットに向かって打ち、テレビやコンピュータのモニタ上であなたのショットのデータを表示することです。これは、莫大な初期投資をせずにスイングを始めるための素晴らしい方法です。しかし、ボールがフェアウェイを飛んでいく臨場感を味わいたいのであれば、インパクト・スクリーンは欠かせない。プロジェクターから鮮明な画像を表示しながら、本物のゴルフボールの力を受け止められるように設計されています。
Hitting Net Recommendations and Pricing
When you're just starting out, a quality hitting net is your best friend. It’s the most straightforward and cost-effective way to start swinging indoors. A popular choice that balances price and performance is the Sporina Hitting Net, which typically runs around $289. You can also find a wide variety of options on Amazon, where you can compare features and read user reviews to find one that fits your space perfectly. If you’re thinking about a more immersive setup down the line, you can look for deals on impact screens. Pro tip: check the clearance section at specialty retailers. You can often find screens with minor cosmetic flaws for a significant discount, giving you a premium experience for less.
Impact Screen Options and Costs
An impact screen is what transforms your practice bay into a virtual course. While a net catches the ball, a screen does that *and* serves as a high-quality surface for projecting the game. You can find entry-level screen fabric for around $150, which is a great DIY starting point. Investing in a quality screen is important, as it needs to be durable enough to absorb thousands of high-speed shots while providing a bright, clear picture. This is why pre-configured simulator bundles are such a great option; they include a screen that is perfectly matched to the enclosure and projector, ensuring everything works together for the best possible image and performance.
Finding the Perfect Hitting Mat
打球マットの重要性を見落としてはならない。安物の容赦ないマットは、手首や肘に負担をかけ、現実的なフィードバックを与えてくれません。重要なのは、「ヒッティングストリップ」(クラブが実際にボールに接触する小さなエリア)の質に焦点を当てることです。大きなスタンス・エリアにはお金をかけずに済みます。一般的なDIYの方法は、ベースにインターロッキング体育館の床タイルを使い、それを人工芝で覆ってから、高品質のヒッティングストリップを入れる部分を切り取るというものです。こうすることで、高級マットのようなコストをかけずに、快適で安全な面が得られる。
Recommended Hitting Mats by Price
To make your decision easier, here are a few great options broken down by price. Remember, investing in a good hitting surface is essential for a realistic practice experience and for protecting your joints.
- The DIY Approach: For the ultimate cost-saver, the DIY route is fantastic. You can use interlocking gym floor tiles as a base, cover them with artificial turf, and then install a high-quality hitting strip right where you need it. This gives you a large, comfortable surface without the premium price tag.
- Budget-Friendly Mats: If you'd rather buy a ready-to-go mat, there are some excellent choices that won't break the bank. You can find options like the Carls HotShot Mat (around $535), which is a popular pick for its quality and replaceable hitting strips, or the Big Moss High Impact (around $350) as a great all-in-one option.
- Entry-Level Options: For an even more accessible starting point, you can find basic hitting mats on Amazon for $100 and up. While the quality can vary, they are perfect for getting your simulator up and running quickly while you decide on a long-term upgrade.
No matter which path you choose, the most important thing is to focus on the quality of the "hitting strip." This is where your club makes contact, and it will have the biggest impact on your performance and comfort.
Selecting Your Projector and Display
大迫力のスクリーン体験を求めるなら、適切なプロジェクター選びがカギとなる。いくつかの主な仕様に注目したい。明るさはルーメンで表され、数字が大きいほど映像が明るくなる。4Kは信じられないほどのディテールを提供するが、しっかりした1080pプロジェクターはほとんどのセットアップで素晴らしい体験を提供する。最も重要な要素は「スローレシオ」で、これはある距離から見た画像の大きさを決定する。プロジェクターの投射倍率を部屋の寸法に合わせ、画像がスクリーンにぴったり合うようにする必要があります。
Projector Cost and Considerations
A good projector for your golf simulator doesn't have to break the bank. While top-of-the-line 4K models can run into the thousands, you can find fantastic short-throw projectors that deliver a bright, clear 1080p image for around $500 to $800. The most important feature to look for is that "short-throw" capability. This allows the projector to be placed closer to the screen, which is essential for an indoor golf setup. This positioning ensures that when you step up to the ball, you don't cast a distracting shadow across your virtual fairway, keeping the experience immersive and realistic.
When you're mapping out your budget, don't forget to account for a ceiling mount, which usually costs under $100 and is the best way to get a clean, permanent installation. However, if a projector and screen aren't in your initial budget, that’s perfectly fine. You can always start by connecting your launch monitor to a TV you already own. It’s a great, cost-effective way to get swinging right away. If you're trying to match a projector's throw ratio to your room's specific dimensions and feel a bit overwhelmed, it's always a good idea to contact an expert for guidance before you buy.
Comparing Golf Simulator Software
シミュレーターに命を吹き込むのはソフトウェアで、データポイントをオーガスタでのバーチャル・ラウンドやゴルフ練習場での練習に変換します。超リアルなグラフィックからユーザーが作成したコースの膨大なライブラリまで、さまざまなソフトウェアがユニークな機能を提供している。GSProのように、そのリアリズムで知られ、年間サブスクリプションで運営されている強力なコミュニティを持っているものもある。また、TGC 2019のように1回限りの購入で15万以上のコースにアクセスできるものもあり、バラエティに富み、多人数プレイを楽しむのに最適だ。RSG Proシステムに付属するソフトウェアは、箱から出してすぐに素晴らしい体験ができるように設計されています。
Minimum Computer Specifications
Your computer is the engine that powers your entire virtual golf experience, so it’s important to make sure it has enough horsepower. While you don’t need a supercomputer, the software does require a decent amount of processing power to render realistic courses without lag or stuttering. For the best graphics and smoothest gameplay, you’ll want a fairly powerful machine. As a baseline, most simulator software requires a computer with at least a GTX 970 graphics card and 8GB of memory. Meeting these minimums ensures the game runs smoothly, but upgrading to a more powerful graphics card will deliver even more stunning and immersive visuals, making every round feel that much more real.
Popular Software Options and Costs
When it comes to software, you generally have two paths: an annual subscription or a one-time purchase. A popular subscription option is GSPro, which costs around $250 per year and is loved by a strong community for its hyper-realistic graphics. On the other hand, a one-time purchase like TGC 2019 gives you lifetime access to a staggering library of over 150,000 courses, making it a great value for those who crave variety. The right choice depends on what you value most. Of course, some systems, like our RSG Pro, come with their own powerful software, which simplifies the decision and ensures everything works perfectly right out of the box.
Putting It All Together: A Step-by-Step Guide
あなたは調査を行い、コンポーネントを選択しました。家庭用ゴルフシミュレーターの組み立ては、あなたのビジョンが形になり始める場所です。明確な計画に従うことで、プロセスがスムーズになり、セットアップが安全、正確で、最初のラウンドに間に合うようになります。それでは、箱の山からあなただけのゴルフの楽園を手に入れるための重要なステップをご紹介しましょう。
Safety First: Planning Your Room Layout
箱を開ける前に、安全を念頭に置いてスペースを最終確認しましょう。快適で安全な体験のためには、部屋の寸法が重要です。部屋の奥行きは、高さと同じくらい重要です。インパクト・スクリーンの背後には1~2フィートのスペースが必要で、ボールを打ち込んだときにたわむスペースがあります。また、スクリーンと打席の間にも十分なスペースが必要です。いくつかの発射モニターは、ボールを正確に追跡するためにあなたの後ろに8〜12フィートのスペースが必要です。あなたが毎回明確な、妨げのないスイング軌道を持っていることを保証するために、すべてが行く場所をマップします。
Practical Tips for Garage and Basement Setups
Garages and basements are perfect spots for a simulator, but they come with their own quirks. Concrete floors are the biggest one—they’re hard on your joints and your equipment. An easy fix is to lay down interlocking gym floor tiles to create a softer, level base for your hitting mat. Temperature is another factor; if you plan to play through the winter in a cold garage, a space heater is a must-have for staying comfortable. You also don’t need a perfect, dark room to start. You can begin with a simple net and a TV, which is a great way to get swinging without worrying about ambient light affecting a projector. As you get more serious, you can explore complete simulator bundles that package everything you need, making it easier to create a polished setup in any space.
Your Step-by-Step Installation Checklist
レイアウトが確定したら、組み立てを開始します。構造化されたアプローチは、組み立てをより簡単にします。まず、エンクロージャーフレームとインパクトスクリーンを設置します。これでシミュレーターの土台が出来上がります。次に、打ち上げモニター、プロジェクター、コンピューターなどのテクノロジーを配置します。主要なハードウェアを設置したら、アクセサリーを追加します。指定された場所にヒッティングマットを敷き、スイングカメラやその他のエキストラを設置します。この順序に従うことで、整理された機能的なゴルフ環境を構築することができます。プロセスを簡素化したい場合は、当社のシミュレータバンドルは、あなたが始めるために必要なすべてが含まれています。
Dial It In: Testing and Calibrating Your System
すべての組み立てが完了したら、最後にシステムのテストとキャリブレーションを行います。これにより、シミュレーターが正確な測定値を提供し、リアルな体験を提供できるようになります。発射モニターの位置は重要です。前に置くか、後ろに置くか、あるいは頭上に置くかによって、その性能が変わってきます。メーカーの指示に従い、慎重に位置合わせとキャリブレーションを行ってください。何度かテストスイングをして、データが実際のショットに合っているかどうかを確認してください。何かおかしいと感じたら、迷わず調整するか、取扱説明書を参照してください。当社のテクニカル・サポート・チームも、最高のパフォーマンスを発揮するためのセットアップの微調整をお手伝いします。
How to Spot Quality Simulator Components
低予算でシミュレーターを作るからといって、見劣りするコンポーネントに妥協する必要はない。コツは、あなたの経験に最大の影響を与えるためにあなたのお金を投資する場所とあなたが数ドルを節約することができる場所を知っていることです。ゴルフバッグを作るようなものだと思ってください。このガイドは、あなたの予算とあなたのゲームに合ったスマートな選択をするのに役立ち、主要なコンポーネントを順を追って説明します。ハイテクな打ち出しモニターから、シンプルだが重要なヒッティングマットまで、すべてを網羅し、セットアップのすべてのパーツが連携して、最高のインドアゴルフ体験を提供できるようにします。
Launch Monitor Features That Actually Matter
打ち出しモニターはセットアップ全体の頭脳であり、スイングからの重要なデータをすべて取り込みます。屋内で使用する場合、カメラベースのシステムは、いくつかのレーダーユニットと比較して、より短い距離にわたってボールを追跡することができますので、一般的にあなたの最善の策です。良いニュースは、あなたがプロレベルのデータを得るために、もはやプロレベルの予算は必要ないということです。ボールスピード、打ち出し角、スピン量などの主要な指標を正確に測定できるモニターを探しましょう。多くの優れた打ち出しモニターが1,000ドル以下で購入できるようになり、正確なシミュレーションがこれまで以上に身近になりました。
Key Data Points for Game Improvement
It's easy to get lost in a sea of data when you first use a launch monitor. While it's cool to see a dozen different metrics, you only need to focus on a few key numbers to actually improve your game. To keep things simple and effective, pay attention to ball speed, launch angle, and spin rate. Ball speed directly reflects your power and how well you struck the ball—more speed equals more distance. Launch angle shows if you're getting the ball airborne efficiently for maximum carry. And spin rate is what dictates the ball's flight shape and how it behaves on the green. By focusing on these three data points, you can make meaningful swing adjustments, and a quality launch monitor will give you the reliable feedback you need to see real progress.
スクリーンとネットの耐久性を判断する方法
この分野では、予算の融通が利く。最も手頃な方法は、耐久性のあるゴルフネットを使用し、すでに所有しているテレビやコンピュータのモニターにシミュレーションを表示することです。これならすぐにプレーを始めることができる。より臨場感のあるプレーを楽しみたいのであれば、インパクト・スクリーンがおすすめだ。買い物をするときは、ボールの衝撃を静かに吸収し、何千回ものショットに耐えられる、多層でしっかりと織られた素材を探しましょう。性能に影響しない程度の小さな傷のあるスクリーンでも、お買い得品が見つかることがあります。
打撃マットの注意点
打球マットの重要性を見落としてはいけません。バーチャルコースとの唯一の接点であり、あなたのゲームと体の両方に影響を与える可能性があります。安くて硬いマットは、関節を痛めたり、時間が経つにつれてクラブを傷める原因になります。マットの最も重要な部分は、ボールと接触するヒッティングストリップです。現実的な感触を提供し、ミスミットに寛容であるために十分なクッションを持っているストリップを優先する。多くの高品質マットは、交換可能なヒッティングストリップを備えており、これは素晴らしい長期投資です。これにより、マット全体を交換することなく、最も磨耗した部分を交換することができ、スイングを完成させながらコストを管理する賢い方法です。
Projector vs. Monitor: Choosing Your Display
ショットをどのように見るかは、それがどのように追跡されるかと同じくらい重要です。主な選択肢は、プロジェクターとインパクトスクリーンの組み合わせか、標準的なテレビ/モニターとネットの組み合わせの2つです。プロジェクターは、まるでコースにいるかのような臨場感を演出します。プロジェクターを選ぶ際は、設置したい距離からスクリーンに投写できるよう、投写倍率に注意してください。また、鮮明な画像を得るために、明るさ(ルーメンで測定)もチェックしたい。テレビは、周囲の明るさを気にすることなく、シャープで明るい画像を提供し、多目的ルームに最適です。
Which Software Features Are Worth Paying For?
ソフトウエアは、打ち出しモニターからの生データを、楽しく魅力的なゴルフ体験に変換するものです。それはあなたが右のあなたの家から世界中の有名なコースをプレイすることができますマジックです。オプションを比較するときは、しばしば継続的なアップデートや新しいコースを提供しています一度限りの購入またはサブスクリプションモデルを好むかどうかを検討してください。練習用のシンプルなドライビングレンジから競技用のフルコースプレイまで、ゲームモードの種類が豊富なソフトを探しましょう。また、あなたが欲しいソフトウェアがあなたのローンチ・モニターと互換性があるかどうかを確認することも重要です。例えば、当社のRSG Oneソフトウェアは、当社のシステムとシームレスに連動し、すぐにプレーできるように設計されています。
Smart Ways to Save on Your Simulator Build
Building your dream golf simulator doesn’t have to drain your savings. With a bit of resourcefulness, you can significantly cut costs without sacrificing quality. The key is to think like a savvy shopper and a creative builder. By exploring the second-hand market, embracing a few do-it-yourself projects, and knowing where to find great deals, you can stretch your budget further than you thought possible. This approach lets you invest in the components that matter most—like an accurate launch monitor—while saving on elements where a little extra effort pays off. Let's get into some practical ways you can build an amazing setup for less.
Consider Buying Used Gear
The second-hand market is a goldmine for simulator components. Golfers are constantly upgrading their setups, which means you can find high-quality, gently used gear at a fraction of the original price. Items like projectors, computers, and even some launch monitors are great candidates for buying used. Online communities and forums are fantastic places to start your search, with some builders reporting they’ve created a complete setup for under $1,000 using mostly pre-owned equipment. Just be sure to do your homework: check seller reviews, ask for recent photos or videos of the item in action, and understand the return policy before you commit. This extra diligence can save you hundreds.
DIY and Clearance Opportunities
If you’re willing to roll up your sleeves, you can unlock another level of savings. A do-it-yourself approach to certain parts of your simulator allows you to achieve a custom, high-end feel without the premium price tag. You don’t need to be a master craftsman to tackle these projects, either. Many are surprisingly simple and can be completed in a weekend. From building your own hitting mat to hunting for deals on impact screens, a little hands-on effort can make a huge difference in your final budget. It’s a rewarding way to not only save money but also to build a space that’s truly your own.
Building Your Own Hitting Mat
Your hitting mat is one of the most important parts of your setup, but a full-size premium mat can be expensive. A popular and effective DIY solution is to build your own. Start with interlocking gym floor tiles to create a sturdy and comfortable base. Then, cover the tiles with a layer of artificial turf for the stance area. The final step is to cut out a section of the turf and drop in a high-quality hitting strip insert. This method gives you a top-tier hitting surface right where you need it, protecting your joints and providing realistic feedback, without the cost of a full premium mat. It's a smart compromise that delivers the best of both worlds when you're creating your own home golf simulator.
Finding Discounted Impact Screens
An impact screen is essential for an immersive experience, but a brand-new one can take a big bite out of your budget. Here’s a pro tip: many top screen manufacturers have clearance sections on their websites. These screens are often sold at a steep discount because of minor cosmetic flaws, like a small smudge or a slight imperfection in the weave, that are usually unnoticeable once an image is projected onto them. As one guide on building a budget simulator points out, you can get a high-quality screen that performs perfectly for a much lower price. It’s a fantastic way to get that professional feel while keeping your costs down.
Common Mistakes to Avoid When Building Your Golf Simulator
自分のゴルフシミュレータを構築することはエキサイティングなプロジェクトですが、いくつかの一般的な失敗がイライラにその興奮を回すことができます。事前に気をつけるべきことを把握しておけば、頭痛の種を減らすことができ、何年も愛用できるセットアップを作ることができます。では、よくある失敗例をご紹介しましょう。慎重に計画を立て、十分な情報を得た上で選択することで、シミュレーターの製作を最初から最後までスムーズに進めることができます。
Forgetting to Account for Swing Space
最もよくある間違いは、実際に必要な部屋の広さを過小評価することです。天井の高さだけではありません。安全で正確な経験をするためには、十分な奥行きが必要です。壁にぶつからずにボールの衝撃を吸収できるよう、インパクト・スクリーンの背後には少なくとも1~2フィートのスペースを確保しましょう。また、スクリーンと打席の間にも十分なスペースが必要です。いくつかの発射モニターは、ショットを正確に登録するために、ボールの飛行の最大12フィートを必要とします。器具をひとつ買う前に、部屋の幅、長さ、高さを測り、スイングに障害物がないことを確認してください。
Buying Incompatible Components
ゴルフシミュレーターは、発射モニター、打球マット、スクリーン、プロジェクター、ソフトウェアなど、すべてが一緒に動作する必要がある部品のシステムです。低品質のマットや互換性のないソフトウェアと組み合わせた素晴らしい打ち上げモニターは、イライラするほど不正確な経験につながる可能性があります。個々のパーツの最安値を探すことに夢中になるのは簡単ですが、正しくコミュニケーションできないセットアップになってしまうかもしれません。これを避けるために、コンポーネントがすでにシームレスに一緒に動作するように選択されている構成済みのゴルフシミュレータのバンドルから開始することを検討してください。これは、方程式から当て推量を取ります。
Taking Shortcuts During Installation
すべての箱が到着した後、すべてを放り投げてプレイを始めたいという誘惑が強くなる。しかし、インストールを急ぐと、画面が曲がったり、フレームが不安定になったり、キャリブレーションが正しくないなど、後々問題を引き起こす可能性があります。ひとつひとつのステップに時間をかけてください。説明書をよく読み、すべてが水平にしっかりと固定されていることを確認し、午後の時間を十分に取ってください。熟考し、忍耐強く組み立てに取り組むことで、より安全で信頼性が高く、楽しいシミュレーターが出来上がります。行き詰まったら、当社のテクニカルサポートチームがいつでもご案内します。
Overlooking Hidden Costs and Subscriptions
すべてを考慮した現実的な予算を立てることが重要だ。主要部品の価格は、ほんの始まりに過ぎない。小さいけれども必要な出費を考慮することを忘れがちです。これには、プロジェクターマウント、高品質のHDMIケーブル、延長コード、照明、ソフトウェア使用料などが含まれます。基本的なキットには、完全な体験に必要なスクリーンやプロジェクターが含まれていないかもしれません。ゴルフ・ルームの建設に必要なものをひとつひとつ書き出して、投資総額を把握し、予想外の出費を避けましょう。
Understanding Software Subscription Fees
The software is what brings your simulator to life, turning a practice session into a virtual round on a world-famous course. It’s a critical part of the experience, but it can also be a common source of unexpected costs. Some software options require a one-time purchase, giving you lifetime access to a huge library of courses. Others operate on a subscription model, where you pay an annual fee for access to the latest updates, new courses, and online communities. Neither option is better—it just depends on your preference. The key is to factor this potential recurring cost into your overall budget so you aren't surprised later. When you shop for simulators, always check which software is compatible and what its payment model looks like.
How to Maintain Your Golf Simulator
せっかく時間とお金をかけて、完璧なホームゴルフ・セットアップを構築したのですから、最高のパフォーマンスを維持したいものです。ちょっとした日常的なメンテナンスは、コンポーネントを保護し、システムが正確で信頼性の高いフィードバックを末永く提供できるようにする上で大きな効果を発揮します。ラウンド後にクラブを掃除するように、シミュレーターにも定期的なお手入れをすることで、小さな問題が大きな問題に発展するのを防ぐことができます。
それはあなたの練習ルーチンの一部と考えてください。毎月数分のお手入れをするだけで、シミュレーターはいつでも次のラウンドに備えることができます。この簡単なお手入れは、機器の寿命を延ばし、パフォーマンスの質を維持し、投資を保護するのに役立ちます。スクリーンの拭き掃除からソフトウェアのアップデートまで、こうした小さな行動が大きな違いを生み出します。
簡単なメンテナンス・チェックリスト
シミュレーターを良好な状態に保つには、積極的なアプローチが最適です。何か問題が起こるのを待つのではなく、簡単なチェックリストに従うことで、潜在的な問題を未然に防ぐことができます。ハードウェア、ソフトウェア、そして物理的なスペースそのものをチェックするのが良い方法です。
カレンダーに定期的なリマインダーを作成し、月に一度、これらのタスクを実行します。プロジェクターのレンズとモニターセンサーをマイクロファイバークロスで拭くことから始めます。すべてのケーブルがしっかりと接続され、摩耗の兆候がないことを確認します。最後に、ソフトウェアが最新の状態であることを確認し、最新の機能とパフォーマンスの向上を手に入れましょう。この基本的なシミュレーターのチェックリストは、どのオーナーにとっても素晴らしい出発点です。
A Component-by-Component Care Guide
シミュレーターの各パーツは、それぞれ微妙に異なるケアが必要です。インパクトスクリーンは最も酷使されますので、磨耗の兆候がないか定期的に点検してください。ロゴやマークのないきれいな新しいゴルフボールだけを使用することで、その寿命を延ばすことができます。
モニターやプロジェクターは、柔らかく糸くずの出ない布で軽く拭くだけで、ホコリを取り除くことができます。また、汚れやシミでスクリーンやマットが汚れるのを防ぐため、クラブヘッドを頻繁に洗うのも良い習慣です。このように、一つひとつの部品を手入れすることで、システム全体がシームレスに機能するようになります。
Fine-Tuning Your Simulator's Performance
物理的なクリーニングだけでなく、システムのソフトウェアとキャリブレーションを微調整しておくことも、正確なパフォーマンスを発揮するための鍵です。メーカーは定期的にソフトウェアのアップデートをリリースし、バグを修正したり、新しいコースや機能を追加したり、トラッキングアルゴリズムを改善したりしています。常に最新バージョンをインストールすることで、ローンチモニターから最高の体験を得ることができます。
システムを定期的に再校正することも良いアイデアです。このプロセスは、発射モニターが正しく配置され、ショットを正確に読み取っていることを確認します。万が一、問題が発生した場合は、当社のテクニカルサポートチームがいつでもシステムの調整をお手伝いします。
When and How to Upgrade Your Setup
低予算でシミュレーターを作る良い点は、時間をかけて改良できることです。最初のセットアップが最後である必要はない。ゲームが上達したり、新しいテクノロジーが利用できるようになったりしたら、コンポーネントを交換して体験を向上させることができる。
最初のアップグレードは何にするか考え始めましょう。より明るい映像のために、より強力なプロジェクターが欲しいかもしれませんし、よりリアルに感じられる高級な打球マットが欲しいかもしれません。新しい打球モニターは、より多くのデータポイントと高い精度を提供することができます。定期的にハードウェアを点検することで、うまく機能しているものと、将来的に交換した方がよいものを特定することができます。
関連記事
よくある質問
格安セットアップのために投資すべき最も重要な部品は何でしょうか?間違いなく、ローンチ・モニターは予算の最も大きな部分を集中すべき場所です。それはあなたの操作全体の頭脳であり、その精度はあなたの経験の質を決定します。優れた打球マットとスクリーンは重要ですが、悪いデータを提供する発射モニターを補うことはできません。信頼できるモニターは、現実的なショット・シミュレーションと効果的な練習に必要な正しいボール・スピード、打ち出し角度、スピン数を提供します。
天井が低くても、本当に良いシミュレーターを作ることができますか?はい、できます。しかし、現実的に考えて、安全性を優先する必要があります。最初のステップは、そのスペースで一番長いクラブでゆっくりフルスイングして、クリアランスを確保することです。あなたのドライバーが快適さのために近すぎる場合は、アイアンでプレーすることに固執しなければならないかもしれません。これはまだあなたのボールを打つに取り組むための素晴らしい方法を提供します。あなたはまた、狭いスペースでより多くの柔軟性を与え、頭上マウントを必要とするものよりもむしろ床に座って打ち上げモニターを探すことができます。
ネットとインパクト・スクリーンのどちらから始めるべきか?これは本当にあなたの予算とあなたの目標になります。スイングの練習と数値の即時フィードバックが主な目的であれば、耐久性のあるネットは完璧で費用対効果の高い出発点です。すでに持っているテレビやタブレットでシミュレーションを見ることができます。コースでプレーし、自分のボールが実物大のフェアウェイを飛んでいくような臨場感を味わいたいのであれば、インパクト用のスクリーンとプロジェクターに投資することをお勧めします。最初はネットから始めて、後でスクリーンにアップグレードすることもできます。
手頃な価格のシミュレーターの精度は?最近の手頃な価格のシミュレーターの精度の高さに驚かれることでしょう。20,000ドルもする市販のシミュレーターのように、すべてのデータパラメータを提供しているわけではありませんが、リアルなボールの飛びを実現するために最も重要な、ボールスピード、打ち出し角、スピン量といった核となる指標をトラッキングすることに優れています。技術は非常に進歩しており、これらの重要なデータポイントについてツアーレベルの精度を得ることができる。
シミュレーターをアップグレードする最善の方法は?独自のセットアップを構築することの素晴らしい点は、完全にモジュール化できることです。一般的なアップグレードパスは、没入感の向上から始まります。多くの人はネットとテレビから始めるので、最初の大きなアップグレードは、インパクトスクリーンとプロジェクターを備えたフルエンクロージャーになることが多いです。その後、よりリアルな感触を提供する高品質なヒッティングマットに目を向けるかもしれません。最後に、あなたのゲームが成長するにつれて、あなたはより詳細なスイング解析を提供するモデルに打ち上げモニターをアップグレードすることができます。


